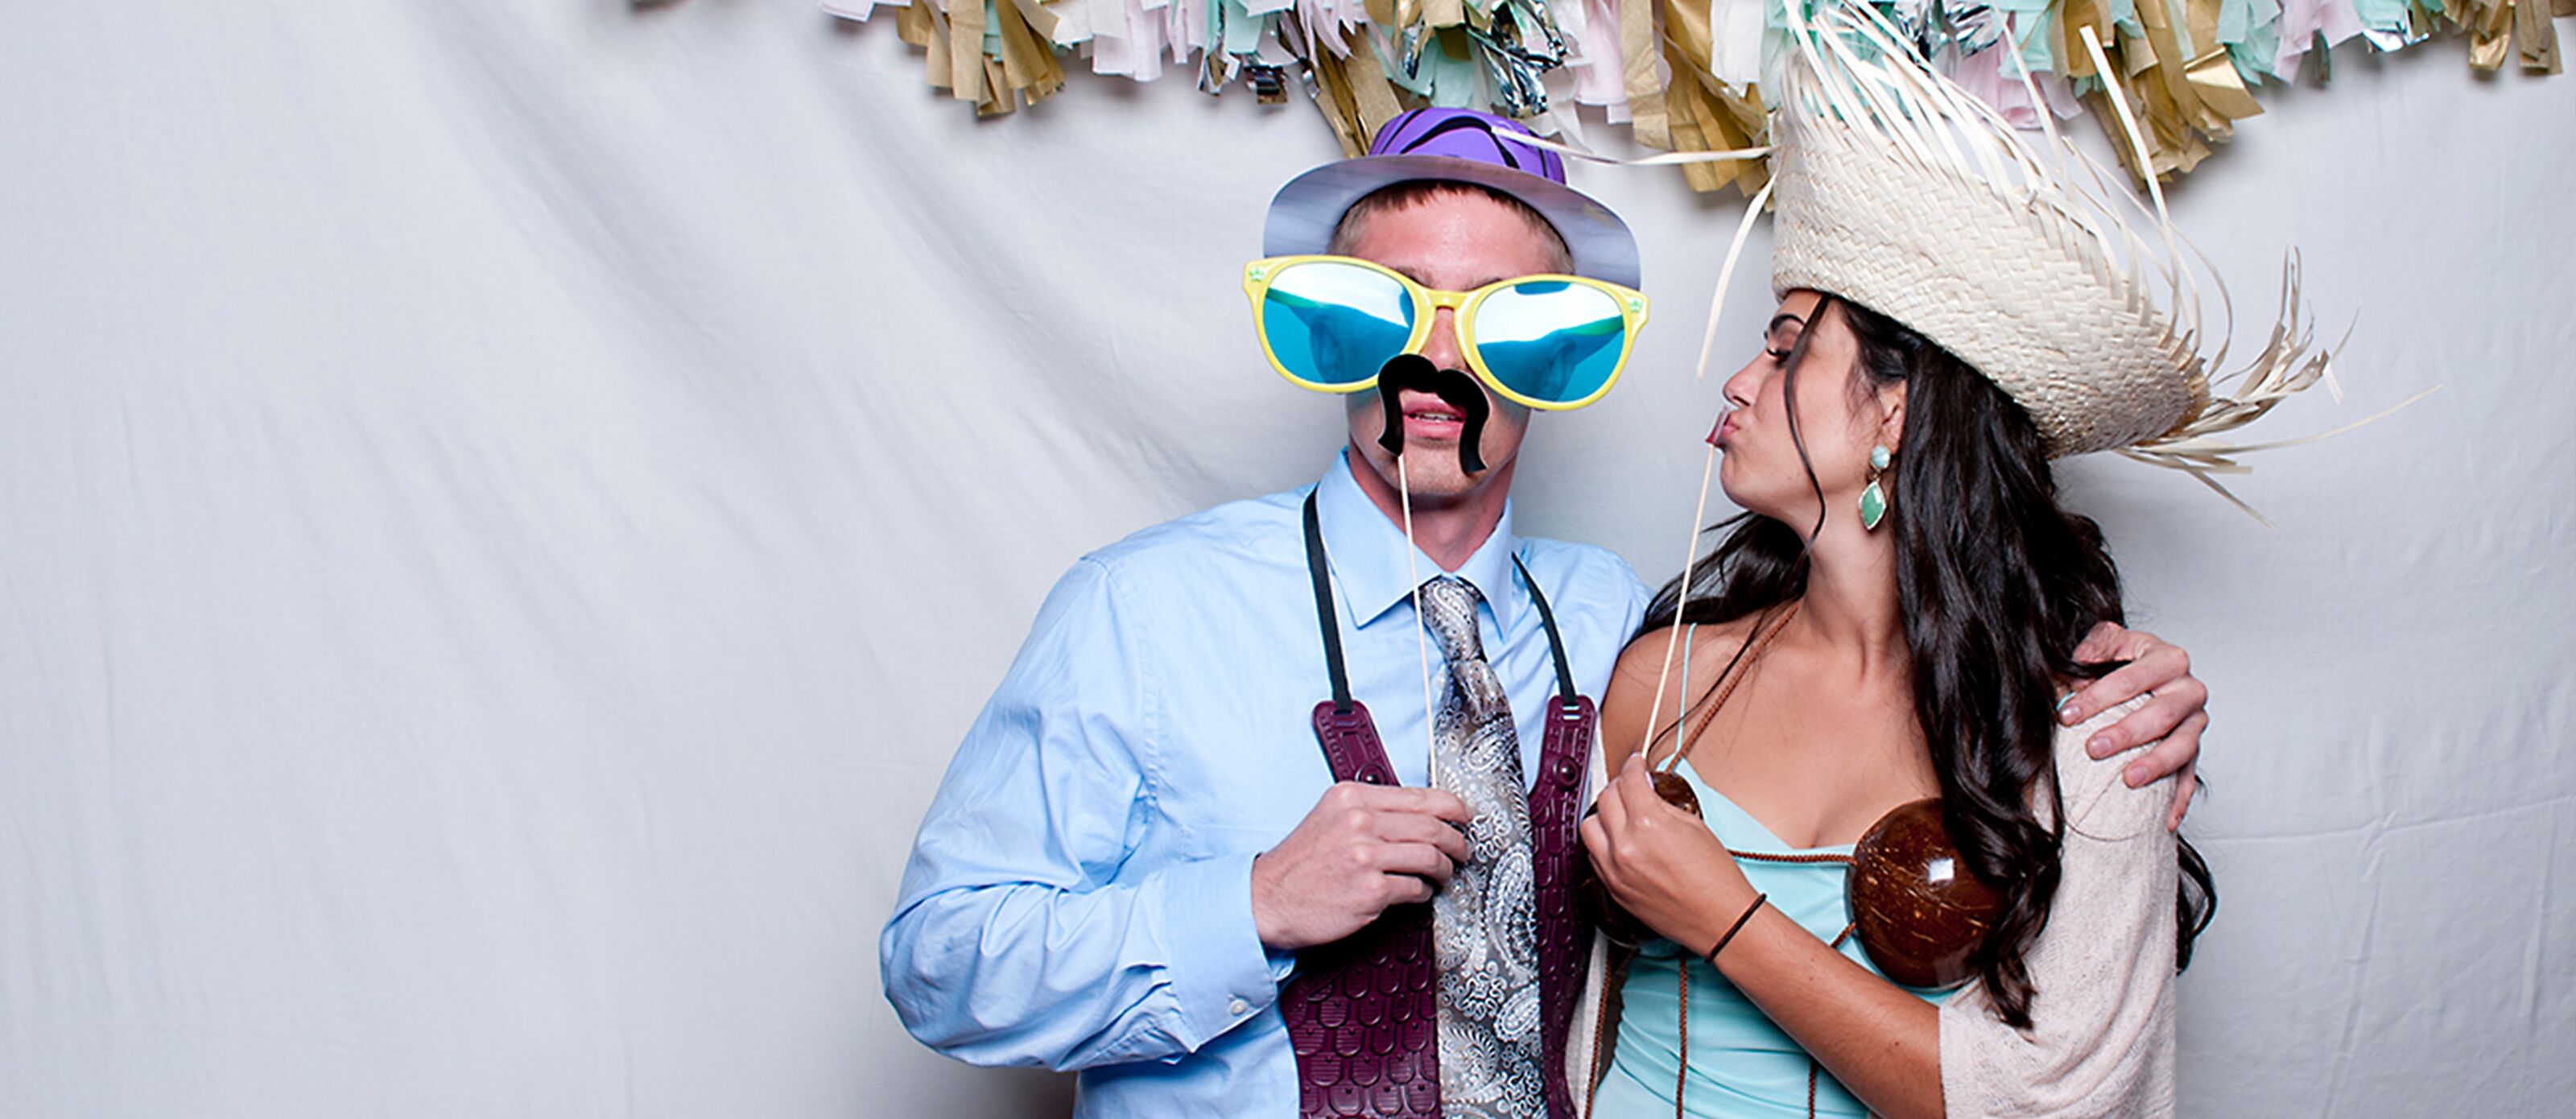
Photo Booths on The Knot
Find the best Photo Booths in your area.
- Reception Venues
- Wedding Photographers
- Videographers
- Bridal Salons
- Beauty
- DJs
- Wedding Bands
- Florists
- Wedding Planners
- Jewelers
- Wedding Cakes
- Bar Services & Beverages
- Caterers
- Dance Lessons
- Decor
- Ensembles & Soloists
- Favors & Gifts
- Hotel Room Blocks
- Invitations & Paper Goods
- Officiants & Premarital Counseling
- Photo Booths
- Rehearsal Dinners, Bridal Showers & Parties
- Rentals
- Transportation
- Travel Specialists
Category
Top Photo Booths near
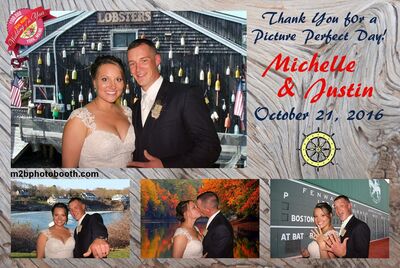
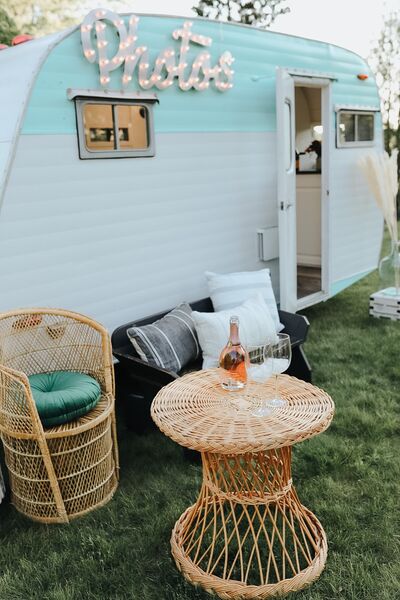
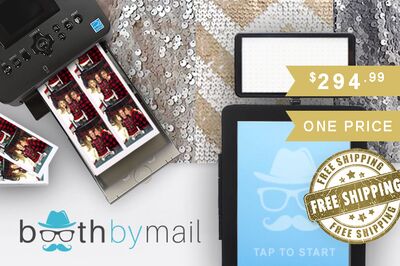
Photo Credits: Maura Jane Photography